
BeagleBone Black Running Ubuntu: Part1
02 Jan 2014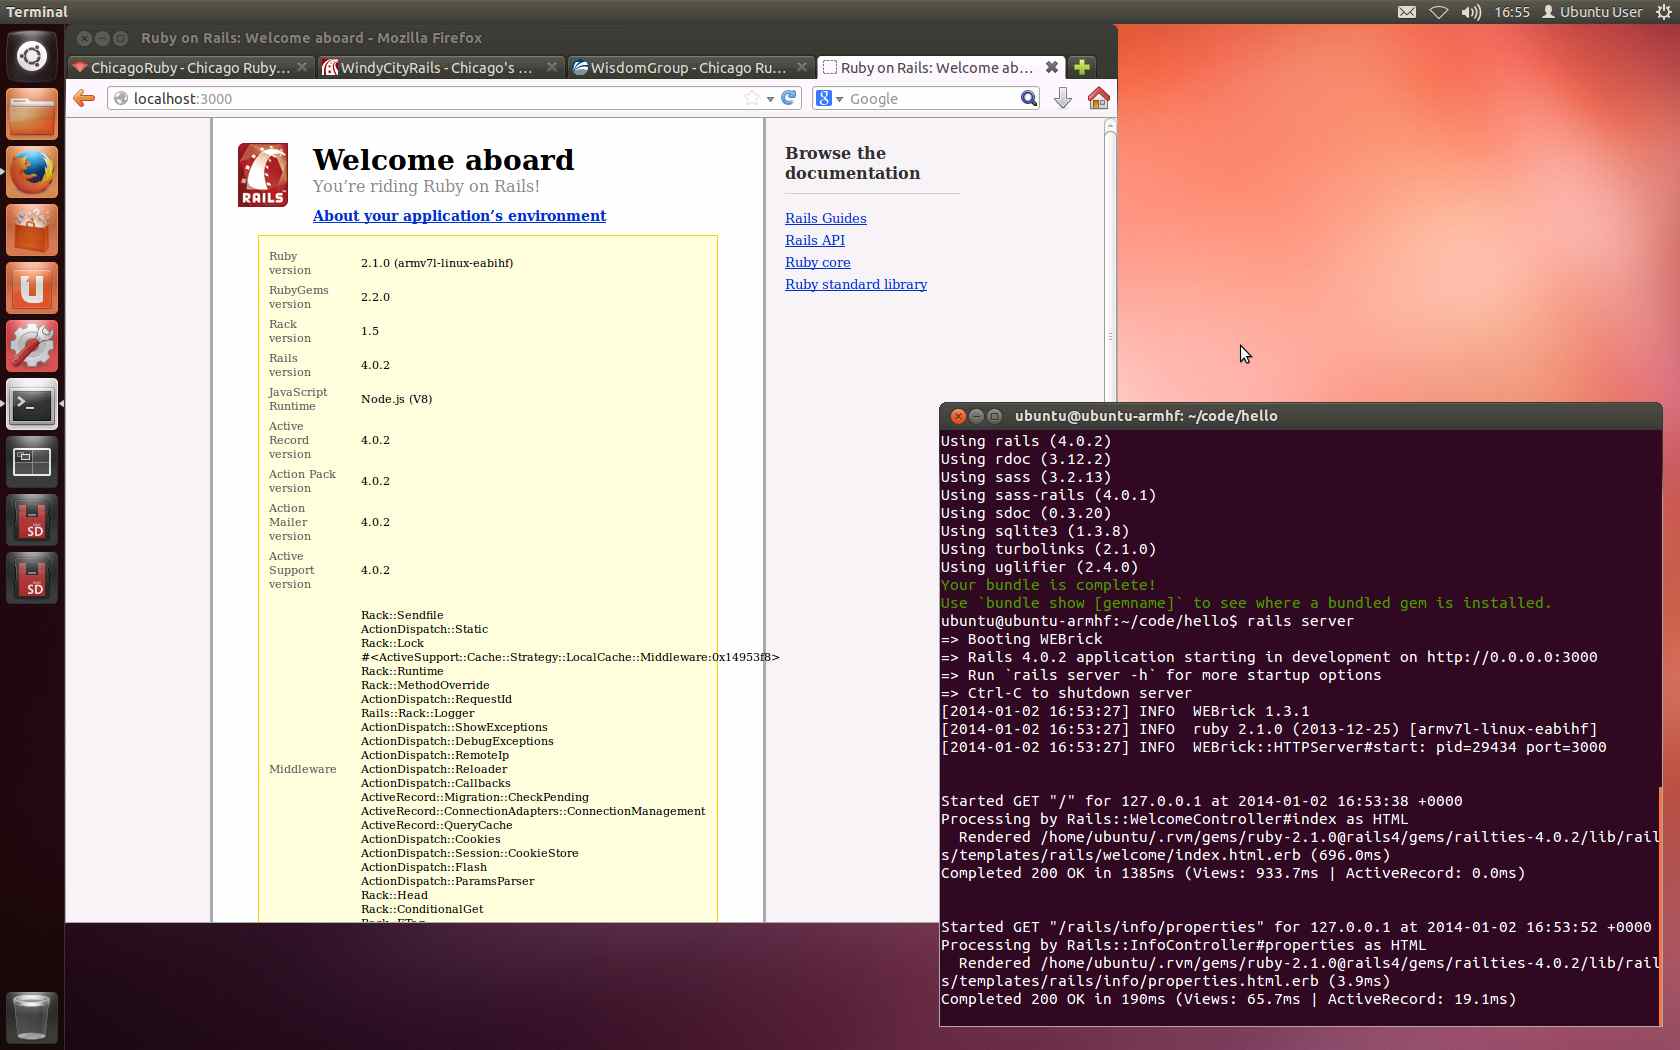
The above screenshot shows a BeagleBone Black running Ubuntu, Ruby, and Rails. Why Ubuntu? The Bone comes pre-installed with Ångström, and it boots as soon as you unbox it. Why not stick with Ångström?
My opinion: The factory standard is fine, but it’s always good to have options. Here’s why I decided to try Ubuntu on the BeagleBone Black…
- Ubuntu documentation is plentiful. Books, blogs, and videos are readily available.
- The Ubuntu community is huge. When a dev runs into an Ubuntu-related snag, it’s likely that another dev has encountered a similar problem, and they can collaborate on a solution.
- Ubuntu is the distro that I’m most familiar with. WisdomGroup uses Ubuntu for multiple projects. With a common operating system, knowledge gained in one environment is immediately useful in another.
- Prepping for Parallella, the 64-core single-board computer that will cost about two hundred bucks. The Parallella is currently in short supply. When it becomes available, it will run Ubuntu. Experience with other single-board computers, especially those running Ubuntu, will prove useful.
This article will show how to install Ubuntu on the BeagleBone Black. Gotchas will be pointed out along the way. Where possible, I will explain the reasons behind my decisions so that you can make different choices if you like.
For a comparable examination of the Raspberry Pi, take a look at Ruby on Raspberry Pi.
First Gotcha: Ubuntu 13 on the Bone
As of this writing, Ubuntu 12 runs well on the BeagleBone Black, but Ubuntu 13 does not. My Ubuntu 13 installation appeared to be successful, but the Ubuntu 13 GUI hung up immediately after login. The Ubuntu 13 command line interface worked fine.
A quick search on Google reveals that others encountered similar roadblocks with version 13. One successful Bone/13 installation was used via SSH, not interactively via keyboard and GUI. Hopefully this will change with future updates. Or, since we’re dealing in the open source world, maybe I can pitch in and help.
Due to the issues encountered with version 13, everything in this article will focus on Ubuntu 12.
Materials Needed for Installing Ubuntu 12
In addition to the BeagleBone Black, the following items should be gathered before installation:
- Micro SD card of at least 8GB. It’s possible to perform the installation with a 4GB card, but that won’t leave much room for Ubuntu applications.
- SD card reader/writer. Recent versions of Apple’s MacBook Pro come with an SD reader/writer built in.
- SD to Micro-SD card adapter. The Bone is designed for micro SD, and the MacBook Pro is designed for full-sized SD. Some micro SD packages come with the adapter.
- A monitor that accepts HDMI input.
- USB keyboard and mouse.
- Micro HDMI to HDMI adapter. The Bone uses micro HDMI for video output, but your monitor probably uses full-sized HDMI.
- External 5V power adapter for the Bone. Personally, I trust the standard 5v power input more than I trust the power provided via USB. One never knows if USB can provide sufficient (and stable) amperage for a circuit board. Power fluctuations can lead to strange behavior, including video flickering.
- Ethernet cable with RJ-45 ends.
- A fast internet connection.
The standard sudo disclaimer applies.
Homebrew Required
Homebrew is the easiest way to install ‘nix utilities on Mac OS X. We need Homebrew in order to install some of the utilities needed to burn the SD card. The one-line Homebrew installation command is given on the Homebrew site.
Each time we use Homebrew, we run $ brew doctor and $ brew update to make sure the packages are up-to-date.
$ brew doctor
Warning: Your Homebrew is outdated.
You haven't updated for at least 24 hours, this is a long time in brewland!
To update Homebrew, run `brew update`.

$ brew update
Updated Homebrew from a2e44659 to 4c7bc9ec.

$ brew doctor
Your system is ready to brew.
The xz Extraction Utility
Disk image files are downloaded in a compressed format. We need the xz utility in order to extract the files into something usable. If you already have Homebrew installed, this command will install xz for you.
$ brew install xz
Test the BeagleBone Black First
Power up your BeagleBone Black and make sure it runs with the built-in Ångström Linux installation. One great thing about the Bone is that it will boot to the Ångström GUI straight out of the box, with no prior configuration.
If the GUI boots, then you’re in good shape.
If the GUI doesn’t boot, it may have been damaged in a prior experiement. Embarassing note: I started looking for a way to install Ubuntu on the Bone because I broke my Ångström installation. What can I say… I learn more from destructive experiments. Faced with a non-booting Bone, I had two choices.
- Re-build Ångström.
- Try something different, like Ubuntu.
Option two worked well!
Prep the SD Card
Apple’s Disk Utility is a convenient tool for wiping the SD card. Standard warnings about any disk utility apply. Double-check everything, and make sure you’re wiping the right volume, or you could lose all of your data.
Next, download the Ubuntu 12.04 image from http://armhf.com.
Extract the image using the xz utility.
$ xz ubuntu-precise-12.04.3-armhf-3.8.13-bone30.img.xz
The extracted image will have a .img file extension. We will use the dd utility to burn the disk image to the SD card. But first, we need to determine the designation of the SD card.
Find the SD Card Designation
In order to burn the SD card, we need to make sure we target it correctly. Here’s how to figure out which device to target.
$ diskutil list will show all of the partitions mounted on the system.
$ diskutil list
/dev/disk0
   #:                       TYPE NAME                    SIZE       IDENTIFIER
   0:      GUID_partition_scheme                        *500.3 GB   disk0
   1:                        EFI                         209.7 MB   disk0s1
   2:                  Apple_HFS Macintosh HD            499.4 GB   disk0s2
   3:                 Apple_Boot Recovery HD             650.0 MB   disk0s3
/dev/disk1
   #:                       TYPE NAME                    SIZE       IDENTIFIER
   0:     FDisk_partition_scheme                        *8.0 GB     disk1
I happen to know that my SD Card is 8.0 GB in capacity, and my system also has a 500 GB SSD. The goal is to burn the SD card while leaving the 500 GB SSD (home of the Mac OS X operating system and all of my data) intact. From the $ diskutil list report, I can see that the SD card’s designation in my system is /dev/disk1.
Note the italicized words in my system. Your system is probably different, especially if you have a DVD drive or a second hard drive. I have neither of those. The SD card’s designation will be different in each system where it is mounted depending on the number and location of the drives that are already there.
Now that we know the SD card’s designation, we can unmount it. We unmount the drive (but leave the card inserted in the reader) so that it can be written with the Ubuntu disk image.
$ diskutil unmountDisk /dev/disk1
Unmount of all volumes on disk1 was successful
Looks like the SD card was unmounted successfully. Now we can write the
Ubuntu image with the dd utility.
Writing the Ubuntu Image
The following command will write the decompressed Ubuntu image to the SD card.
$ sudo dd bs=1m if=ubuntu-precise-12.04.3-armhf-3.8.13-bone30.img of=/dev/disk1
Note that it may take up to an hour for the image to be written.
One drawback of using the command line is that there is no gauge to tell you how much progress the utility is making. Fortunately, I stumbled upon a way to measure progress at eLinux.org. While the command line utility is running, and while that window has focus, type control-T. A few seconds later, the terminal window will show a brief activity report.
Here’s a report from the first time I struck control-T …
load: 2.03  cmd: dd 75608 uninterruptible 0.00u 0.54s
40+0 records in
39+0 records out
We can strike control-T again to receive additional updates. The numbers will tell us if we are making progress. Don’t get carried away with control-T. A watched pot never boils :-)
Booting with the New SD Card
The terminal will return to the command prompt after the Ubuntu image has been written to the SD card. Now it’s time to boot with the new image.
- Eject the SD card from the Mac.
- Remove power from the BeagleBone Black, and insert the micro SD card.
- Note the location of the “boot” button on the Bone. It’s the micro switch closest to the USB port. We will need to hold this switch down while powering up the Bone.
A few notes about item #3. It takes some juggling to hold down a micro switch while plugging in power to the board. I found it easier to plug the power adapter into a powered-off surge suppressor, hold down the microswitch, and then power-on the surge suppressor with my elbow. Sounds ridiculous, but it worked.
About sixty seconds after boot, the Linux penguin appeared in the upper left corner of the Bone display. And then the login prompt appeared.
Another note about the “boot” switch: It looks like the Bone will boot into the SD’s operating system (instead of the eMMC flash OS where Angstrom resides) without the micro switch if the switch was used in the previous boot. I haven’t rebooted enough times to test this thoroughly.
Default Credentials for Ubuntu on BeagleBone Black
Ubuntu’s default BeagleBone Black login credentials are shown here because I always end up hunting for these when I need them. It’s much easier to have information at one’s fingertips.
login: ubuntu
pw: ubuntu
End of Part One
This marks the end of part one of this series about BeagleBone Black and Ubuntu.
Part two covers Ruby on BeagleBone Black, with information about…
- Getting the GUI running, including a disk resizing gotcha.
- Installing Ruby, including a Ruby Version Manager (RVM) gotcha.
- Installing Rails, and how to handle a JavaScript runtime gotcha.
Stay tuned!