
Homebrew Fundamentals
12 Feb 2014Spend enough time developing software on Mac OS X, and you will eventually need to install libraries that were written for Unix, but not specifically for OS X. Fortunately we have Homebrew, which makes it easier to install Unix libraries on the Mac.
Why Homebrew?
Before installing any new software, it is helpful to have a clear view of why we need it.
Homebrew is a package manager. It differs from earlier package managers like Fink and MacPorts because it is written in Ruby and based on Git. The Ruby/Git foundation means that developers from around the planet can easily contribute to Homebrew’s growth.
Before package managers, developers who needed a particular library would have to:
- Manually download source code for the library.
- Manually compile using
gccor another compiler. - Resolve dependencies manually.
Manually, manually, manually… The old way was long and error-prone. Max Howell created Homebrew to download, compile, and resolve dependencies automatically. Now developers can focus more attention on solving problems that are directly related to their work.
How to Install Homebrew
Some parts of Homebrew require Xcode, Apple’s environment for developing software on Mac OS X. Make sure you have Xcode installed on your Mac. Xcode is available for free in the Mac App Store.
With Xcode installed, you can install Homebrew by pasting the following command into a terminal window.
$ ruby -e "$(curl -fsSL https://raw.github.com/Homebrew/homebrew/go/install)"install
The script will walk you through the installation process. If you would like to read the script before installation, you can visit the Homebrew repo on Github.
Installing Packages
A list of available Homebrew packages is maintained on GitHub.
To install a package, say imagemagick for example…
$ brew install imagemagick
Before Homebrew, installing imagemagick was long and arduous. With Homebrew, the installation and compilation steps still take awhile. But dependencies are resolved by Homebrew, and little user interaction is required after the first step.
Maintaining Homebrew
Developers from around the world contribute to Homebrew, so the tool gets improved often. To check the health of your Homebrew installation, use brew doctor.
$ brew doctor
Warning: Your Homebrew is outdated.
You haven't updated for at least 24 hours, this is a long time in brewland!
To update Homebrew, run `brew update`.

$
brew update will apply recent updates.
$ brew update
Updated Homebrew from f83642fc to cfad513e.
==> New Formulae
...
==> Updated Formulae
...
==> Deleted Formulae
...

$
Looking at Packages
There are several ways to view the packages that have been installed on a system via Homebrew. Use brew list at the command prompt to get a quick view of what Homebrew has installed.
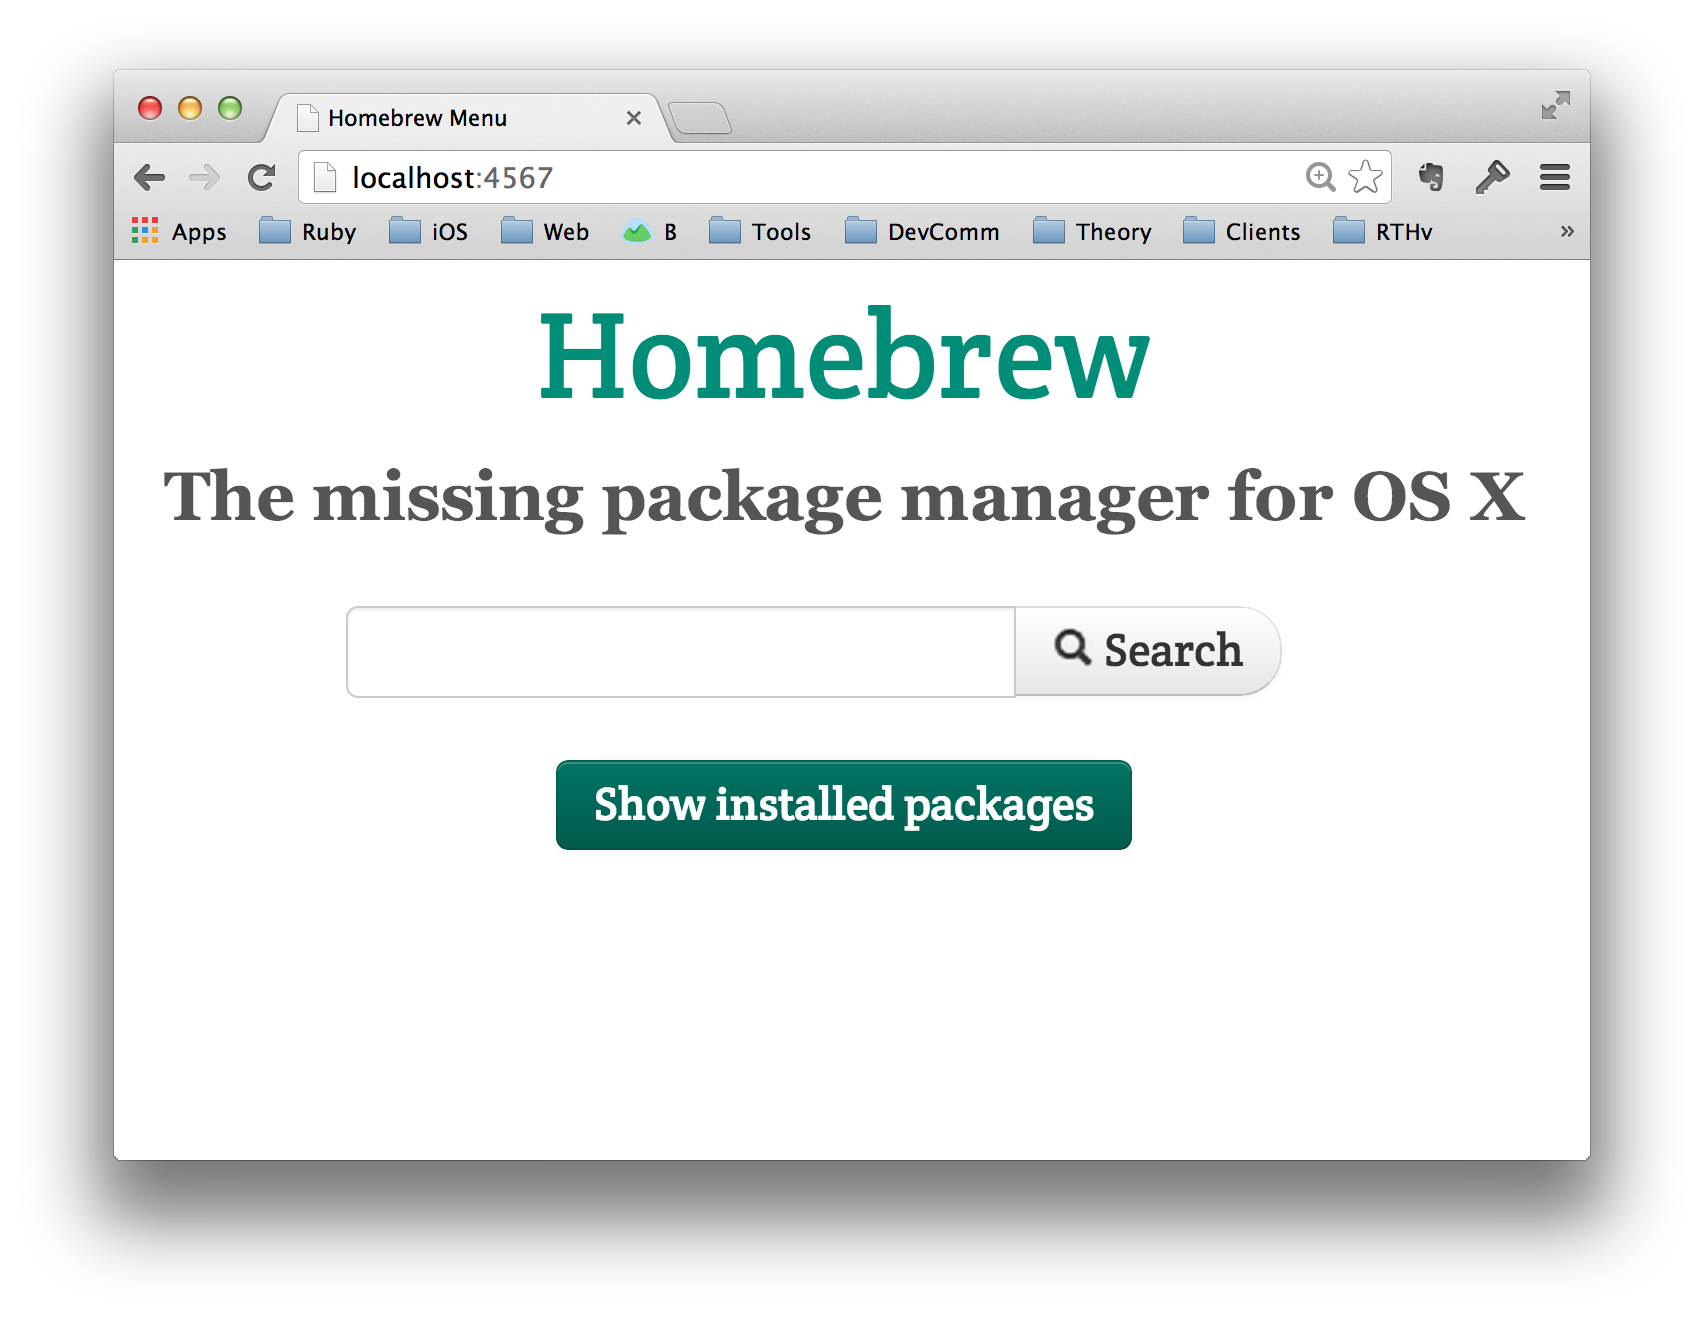
Even better: brew server will launch a local Sinatra app, and then you can point a browser to http://localhost:4567 for a web-enabled view of the installed packages.
$ brew server
View our tasting menu at http://localhost:4567/
Use "Control-C" to exit.

[2014-02-12 16:33:18] INFO  WEBrick 1.3.1
[2014-02-12 16:33:18] INFO  ruby 1.8.7 (2012-02-08) [universal-darwin12.0]
== Sinatra/1.3.3 has taken the stage on 4567 for development with backup from WEBrick
[2014-02-12 16:33:18] INFO  WEBrick::HTTPServer#start: pid=96694 port=4567
Making Your Own Packages
Homebrew is Ruby-based, so Rubyists can create their own packages. Details can be found in the (continuously updated) Homebrew repo on GitHub.
Conclusion
Enjoy Homebrew!