Quick Win With Raspberry Pi Model 3
28 Mar 2018
When we experiment with something new, it can be encouraging to achieve a quick win early in the process. Achieving a quick win can give us that jolt of energy we need to break through the inevitable roadblocks.
This post is designed to give you a quick win with the Raspberry Pi Model 3. Points covered:
- How to download and install an operating system for your Raspberry Pi.
- Using SSH to control your Pi from a laptop, so you won’t need an external monitor.
- Using virtual network computing (VNC) to control your Pi’s GUI without attaching a monitor.
Getting the Raspberry Pi Operating System
You can purchase the Raspberry Pi operating system pre-installed on an SD card. Adafruit and Amazon are two retailers who sell the OS this way.
Or you can download the operating system from the Raspberry Pi site. Buying the pre-installed card will save you time, but you might not get the latest versions of the software. It’s easier to keep OS images up-to-date online.
Choosing an SD Card
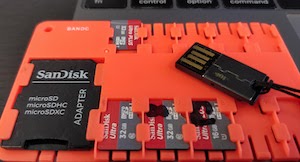
As of this writing, the best micro SD cards for the Pi are Class 10 (indicated by the number 10 surrounded by a circle). I’ve always enjoyed success with the SanDisk Ultra Plus. Other cards might work just as well, but this is the one that has always performed for me.
Depending on the configuration of your laptop, you might need an adapter to read your card.
Burning the SD Card
Warning: The card burning procedure could destroy your machine (yes, your laptop). The procedure uses sudo, which grants you superpowers over the machine. Please backup your laptop before doing anything related to this procedure. And then, double-check the steps as you go.
There’s a GUI for burning a Raspberry Pi OS. I prefer the command line because the shell always works, while GUIs can be subject to operating system updates. Therefore, the command line method will be described here.
First, grab the disk designation of the SD card.
$ diskutil list
/dev/disk0
   #:                    TYPE NAME              SIZE       IDENTIFIER
   0:   GUID_partition_scheme                  *960.2 GB   disk0
   1:                     EFI EFI               209.7 MB   disk0s1
   2:               Apple_HFS MacSSD            959.3 GB   disk0s2
   3:              Apple_Boot Recovery HD       650.0 MB   disk0s3
/dev/disk1
   #:                    TYPE NAME              SIZE       IDENTIFIER
   0:  FDisk_partition_scheme                  *15.9 GB    disk1
   1:              DOS_FAT_32 BOOT              134.2 MB   disk1s1
   2:                   Linux                   15.8 GB    disk1s2
Next, unmount the SD card.
$ diskutil unmountDisk /dev/disk1
Unmount of all volumes on disk1 was successful

$
Finally, write the extracted Raspberry Pi image to the SD card.
$ sudo dd if=2017-11-29-raspbian-stretch.img of=/dev/rdisk1 bs=1m
Password:
Note how the dd command writes to /dev/rdisk1 instead of /dev/disk1. I have learned, and verified through experiment, that writing to rdisk is much faster than writing to disk. The process takes 6 minutes with rdisk vs 29 minutes with disk.
Why?
We can observe the difference in Activity Monitor. When we use disk, the dd utility grabs a few bytes at a time, and then it writes to the output device. When we write to rdisk, the dd utility grabs the entire 4GB file and then writes it to the output device in one operation.
A metaphor: Using disk is like scooping up water with a teaspoon, with lots of wasted motion. Using rdisk is like using a bucket, scooping up a huge volume of water in one swoop.
Command Options for dd
Here’s a quick run-through of the command options:
-
sudogives you super powers. -
ddis the “copy and convert” command. The letters “dd” have nothing to do with what the tool actually does. It’s just a command name. And like so many things in computer science, the name might be based on a pun. -
if=specifies the input file. You can include the full path, or if the file is in your current directory, you can omit the path as shown in this example. -
of=specifies the output file. We know that the SD card is located at/dev/diskso that’s where the results of this command are headed. Note that your destination directory may differ from this one. -
bs=specifies the block size used for the destination file.
Checking Progress While dd Burns the Image
The dd command does not give any outward sign that it is making progress. That can be a little uncomfortable because it takes a long time for the command to run. Here are two ways to check progress:
-
Run the macOS Activity Monitor, and look for a process called
dd. Watch thedisk writesnumber as it increases. You can even sort the processes in descending order bydisk writes. -
In the terminal window where
ddis running, hitcontrol-Tand you’ll see a progress report in the terminal window.
Once dd is Complete
When dd is done, you can eject the SD card from your Mac and insert it the micro-SD card reader on the Raspberry Pi. Apply power to the Pi and… it boots!
Login Credentials
Default username/password:
- user = pi
- pw = raspberry
Finding Your Pi’s IP Address
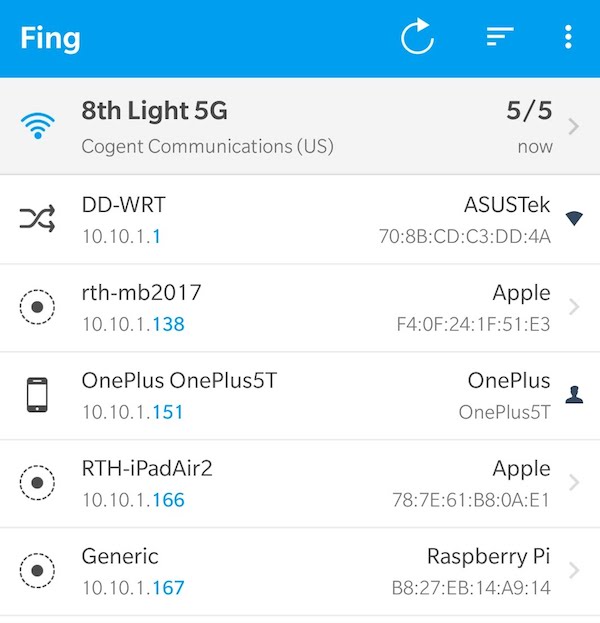
If you’re using a password-protected WiFi network, you will need to connect the Pi so that it can obtain an IP address.
After the Pi connects to your WiFi network, it will grab an IP address using the dynamic host configuration protocol (DHCP). You’ll need the Pi’s IP address in order to control it via SSH or VNC.
A few ways to find the IP address of your Raspberry Pi (you can use any one of the following):
-
Go into the network configuration on your Pi and see what IP address it grabbed (it defaults to DHCP).
-
Use the
$ ifconfigcommand at your Pi’s command prompt. Ignore any IP address that it gives you starting with169.n.n.nor127.n.n.n(where n = any integer between 0 and 255). -
Use a network scanner.
Using a network scanner is more fun because you get to see other devices on the network, in addition to your Pi. For our purposes, almost any network scanner will do. I like to use Fing on my Android phone, available through Google Play.
Using SSH to Log In
At this point, you can try to ssh into your Pi from a laptop that’s on the same subnet. Do that right now, and you’ll get the following:
~$ ssh 10.10.1.167
ssh: connect to host 10.10.1.167 port 22: Connection refused

~$
Connection refused! Why?
By default, SSH is disabled on the Pi. Here’s how to enable SSH on the Raspberry Pi.
- Open a terminal window on your PI.
- Open the Raspberry Pi Software Configuration Tool with the command
$ sudo raspi-config. - Scroll down to Interfacing Options.
- Choose SSH.
- In response to
Would you like the SSH server to be enabled?chooseYes. - The Pi will tell you that SSH has been enabled.
Now when you try to SSH into the Pi…
~$ ssh pi@10.10.1.167
The authenticity of host '10.10.1.167 (10.10.1.167)' can't be established.
ECDSA key fingerprint is SHA256:P0VM/ohkn++qSA5qRIaDqfwVdSUgjMfDaU/ubAnW5mY.
Are you sure you want to continue connecting (yes/no)? yes
Warning: Permanently added '10.10.1.167' (ECDSA) to the list of known hosts.

pi@10.10.1.167's password:
Linux raspberrypi 4.9.59-v7+ #1047 SMP Sun Oct 29 12:19:23 GMT 2017 armv7l

The programs included with the Debian GNU/Linux system are free software;
the exact distribution terms for each program are described in the
individual files in /usr/share/doc/ /copyright.

Debian GNU/Linux comes with ABSOLUTELY NO WARRANTY, to the extent
permitted by applicable law.
Last login: Tue Mar 27 04:17:08 2018

SSH is enabled and the default password for the 'pi' user has not been changed.
This is a security risk - please login as the 'pi' user and type 'passwd' to set a new password.

pi@raspberrypi:~ $
Success! Of course, given the security warning, we might want to change the default password on the Pi.
Gotcha: Some Non-Working VNC Clients
Once upon a time, it was possible to use the following VNC clients on macOS:
- Safari.
- Finder.
- TightVNC.
- TigerVNC.
In some cases, the missing functionality is probably intentional. I’m betting that Apple had security reasons for removing VNC capability from Finder and Safari. For TightVNC and TigerVNC, the authors may have found it difficult to navigate security restrictions in the latest Mac operating system.
Fortunately, the RealVNC client works well.
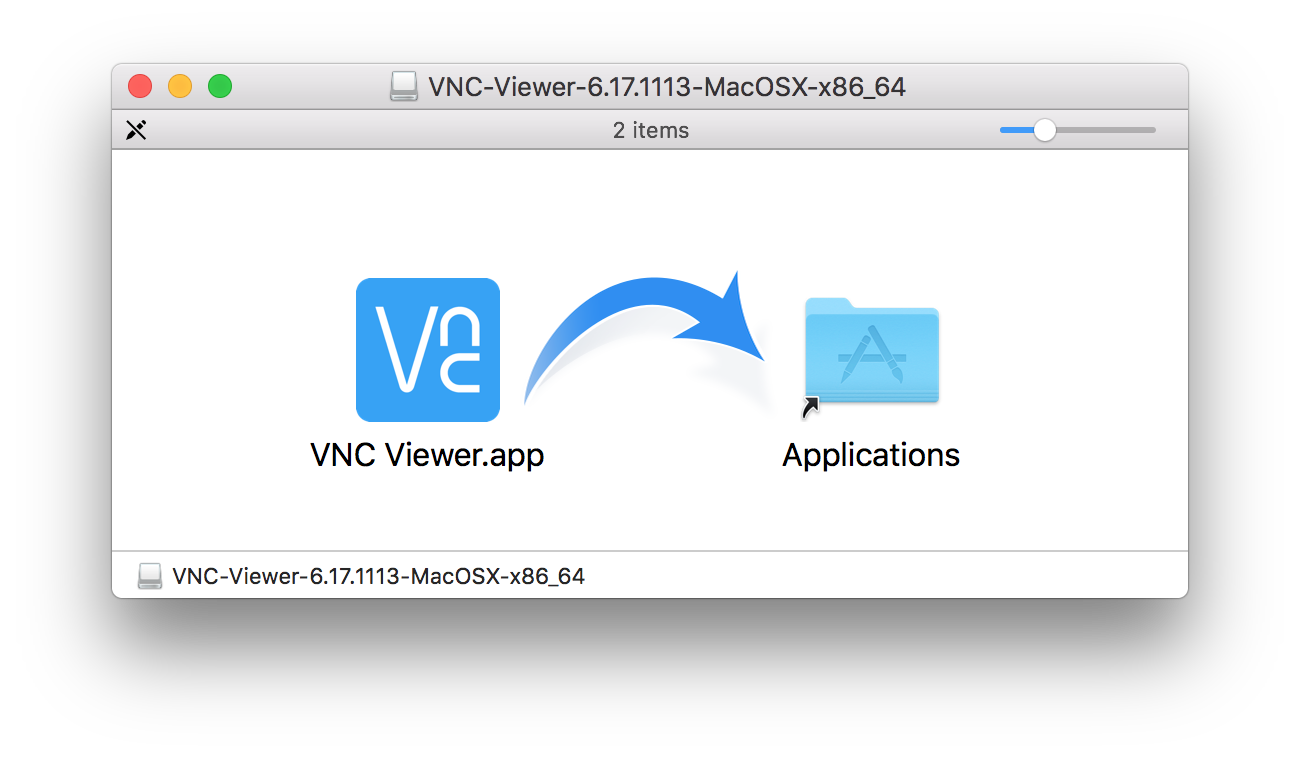
Download the RealVNC client and install it using drag & drop like many other Mac software packages.
How to Install the VNC Server
How do you install the VNC server on the Pi? Good news! With the latest version of the Pi operating system, you don’t have to. The VNC server is already installed. Of course, you will need to enable it.
- To enable VNC, go back into
$ sudo raspi-config(described above). - Find VNC.
- Enable VNC.
The steps are similar to the ones we followed to enable SSH.
Using VNC
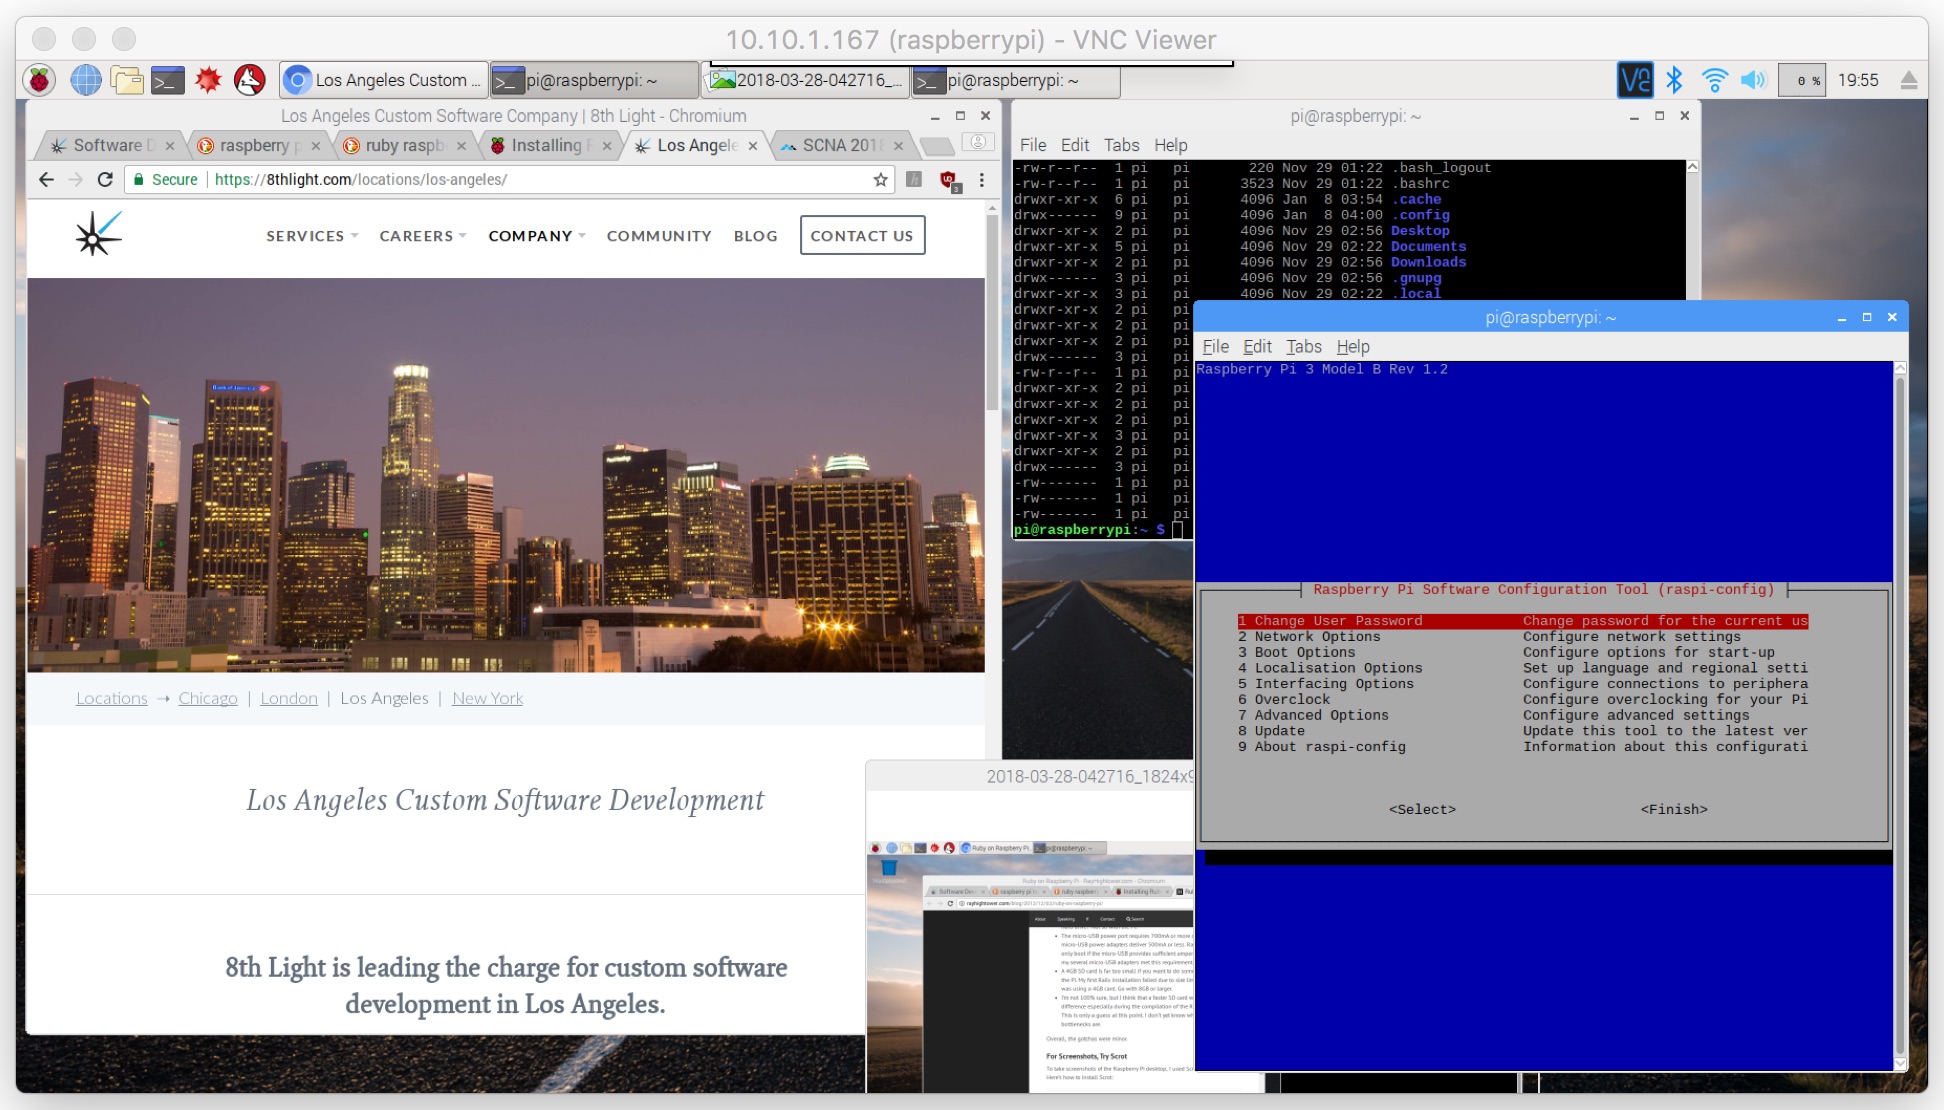
To use Real VNC
- Double-click on the VNC Viewer icon.
- Enter the IP address of the Pi that you want to control.
- Login using the credentials given above.
- You’re in!
Conclusion
Now that you can control your Pi without having to lug around an external monitor, you’re in a position to conduct some cool experiments. Pi users are fortunate to be part of a large and enthusiastic community. Much success to you as you go out and make something great with your Raspberry Pi!


