Designed at West Point. 3D Printed at BLUE1647.
03 Aug 2015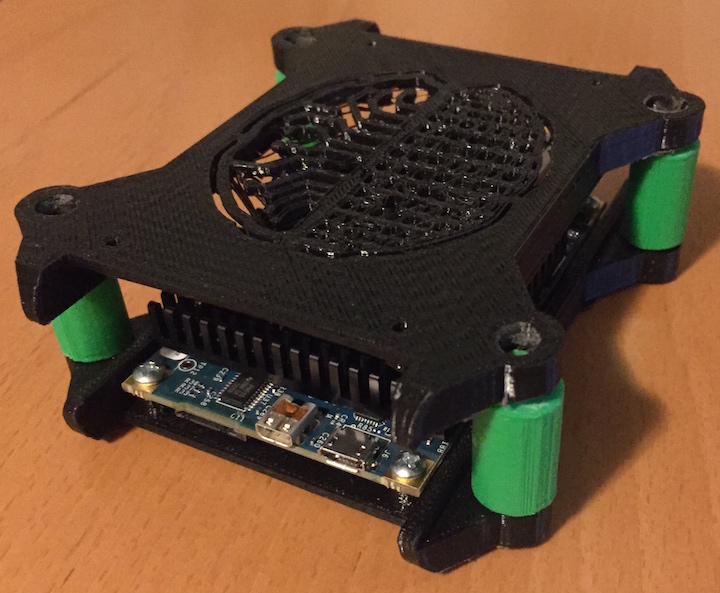
Experimenting with Parallella? Then you might need a way to protect it. The original acrylic cases are no longer available. Fortunately, 3D printing offers a solid alternative.
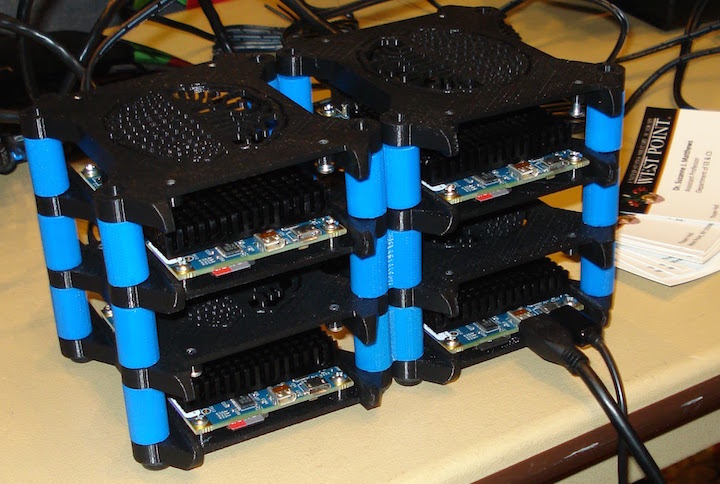
A highly-expandable 3D-printable case was designed by a team at the United States Military Academy at West Point: Professor Suzanne J. Matthews and Master Machinist William (“Frank”) Blackmon. Professor Matthews uses Parallella when teaching high-performance computing courses.
Simple, Expandable Design
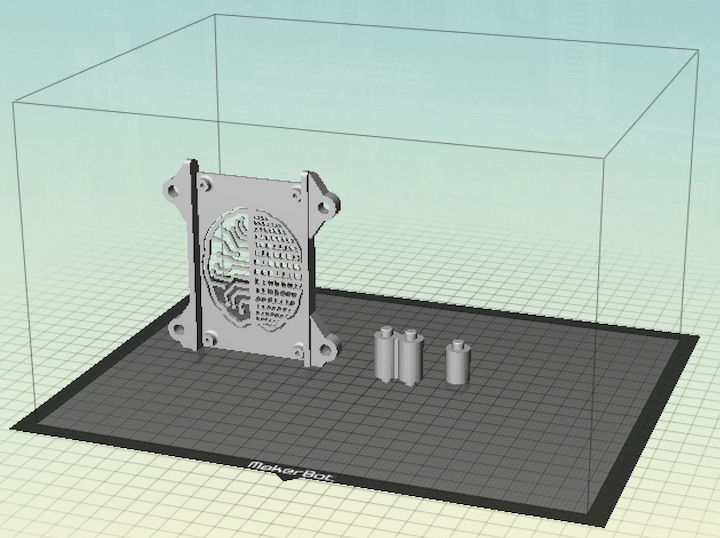
The West Point case only has three parts! You combine the three parts at will to accommodate multiple Parallella cluster configurations.
Internal Honeycomb Structure
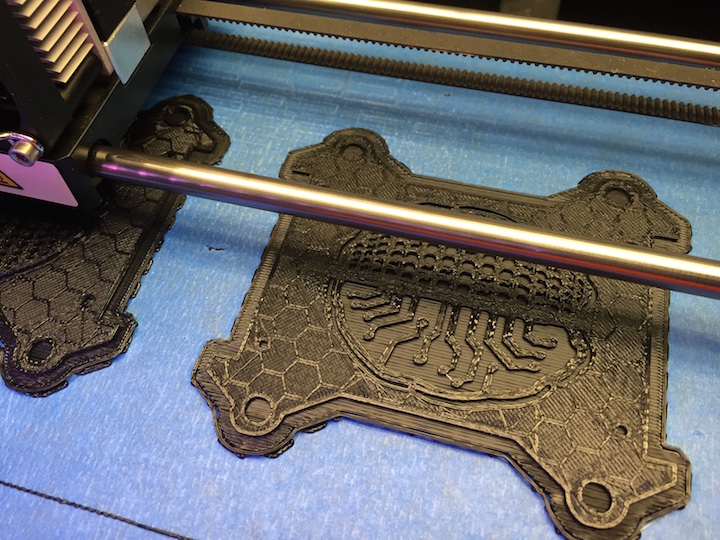
Engineering details make a big difference in project like this. While the flat portions of the case are printing, the internal honeycomb structure is visible. I suspect that the honeycomb gives the panels greater strength while reducing costs and shortening the print time. Product engineering considers factors that users never see at the surface.
3D Printing Process (w/gotchas)
I asked Patrick Harris, CEO of iMagine-it-Tech, to guide me through the process. iMagine-it-Tech is based at BLUE1647. Here are a few lessons (with gotchas to avoid):
-
Thingiverse is a great resource for STereoLithography (STL) files.
-
Whether you own your own 3D printer or not, grab a copy of the MakerBot Desktop software. The software will let you view and manipulate STL files at will. Versions are available for Mac OS X, Windows, and Linux.
-
If the build plate has room for multiple copies of your object, print them. Here’s why: 3D-printing is in its infancy and results are less than perfect. If a part does not come out as designed, and you’ve printed multiple copies, you might have an extra to fall back on.
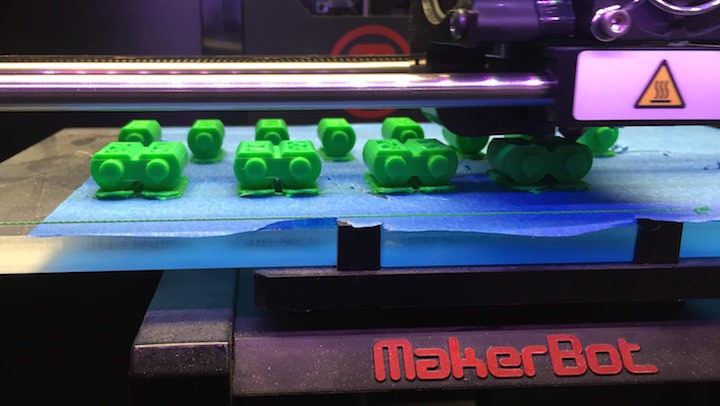
- Keep the build plate absolutely level. The build plate is the platform where MakerBot deposits material to form the 3D-printed object. If the build plate is even slightly skewed, you could end up with spaghettification, noodle-like strings of filament all over the place. Not fun.

- Print with the flat-side of the object down against the build plate. 3D printing does not do well with overhangs.
After Printing
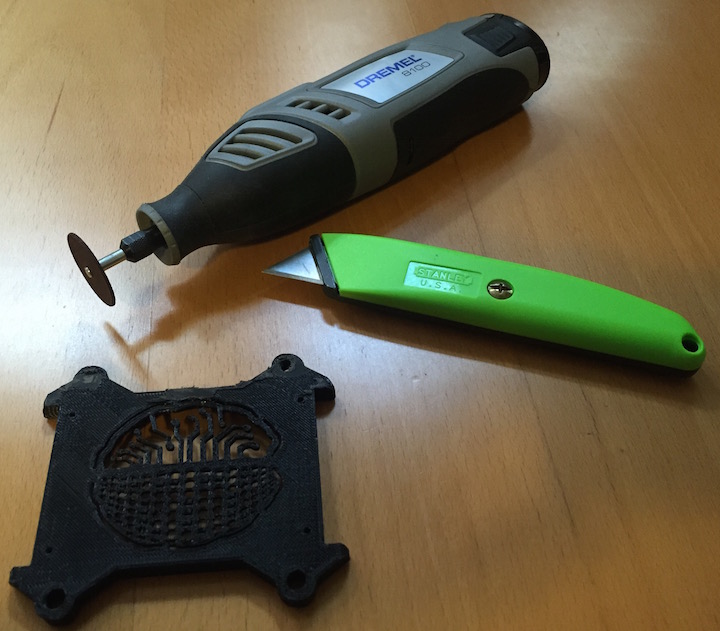
The Dremel Tool has become one of the most valuable tools in my maker kit. For this project, it was helpful to use the Dremel for edge-smoothing and screw-shortening.
Screws Required
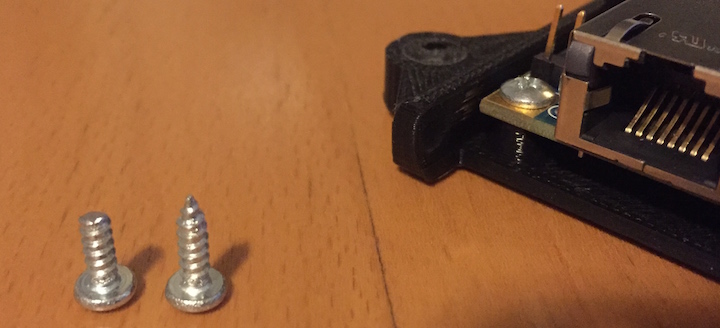
You can secure the Parallella circuit board to the bottom side of the case with four sheet metal screws, size #4. The 3/8” screws extended beyond the bottom of the case, so I trimmed them a bit with a Dremel.
Conclusion
This is the best 3D-printed case for Parallella that I have found so far, mainly because it is stackable and expandable.
Professor Matthews continues to author instructional materials that focus on parallel processing, with Parallella as the learning tool of choice. I look forward to reading more of the materials.


